Panorama : 360° view - first person
Summary
- Description
- Actions within Compositeur Digital UX
- Content extension
- Create a panorama
- Create a tour
- Projection types
- Download a sample
Description
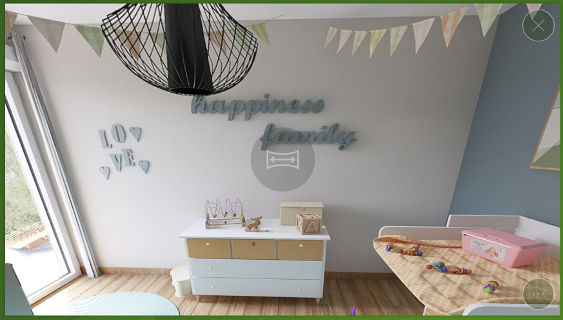
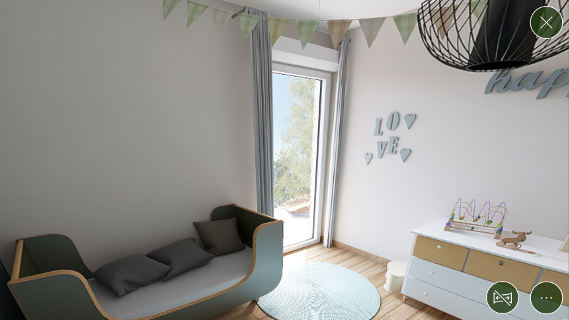
This content type allows you to display a 360° view of a scene (e.g. landscapes, interior views…) using specific images.
To interact with a Panorama, press the navigation button at the center of the item : it starts the navigation mode.
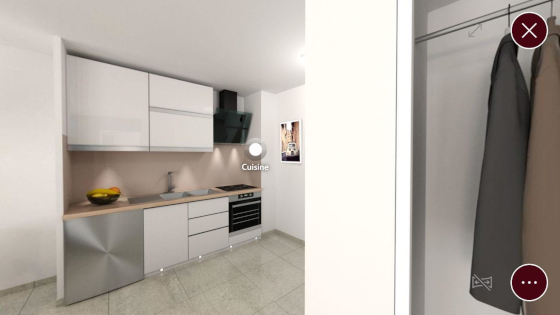
This content type supports krpano tour. It allows the user to navigate in a virtual space and explore various scenes clicking on hotspots to move from one scene to another one.
In navigation mode, slide your finger on the item to rotate the camera and see all the scene. If you don’t touch the panorama for 10 seconds in navigation mode, it will automatically disable the navigation mode and your item will behave normally when you touch it.
You can also press the end navigation button (next to the action button) to end navigation.
When a hotspot is available, tapping on it will drive you to the next scene.
Actions within Compositeur Digital UX
Panorama items support the following action. To have a complete overview of each action, see the section Actions
Actions menu
| Annotate | Capture | Duplicate | Open in native app | Save as | Selection | Share |
|---|---|---|---|---|---|---|
| ✖ | ✔ | ✔ | ✖ | ✖ | ✔ | ✖ |
Interaction with the item
| Navigation Mode | Hotspot Selection |
|---|---|
| ✔ | ✔ |
Content extension
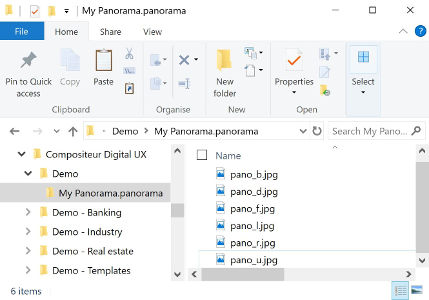
To use a panorama, put the images to render in a folder, and add the extension .panorama at the end of the name of your folder.
Inside your panorama, only use files that end with .jpeg, .jpg, .png, or .xml to include krpano tours.
Create a panorama
- In your environment folder, create a folder named
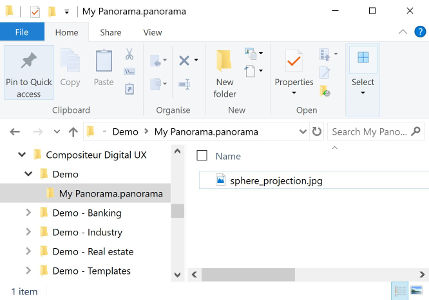
<Name of your panorama>.panorama(e.g.My Panorama.panorama). - Drag and drop all the files which are composing your panorama in this folder.
- (Optional) Add an image (
.jpgor.png) named_previewto change the preview.
Create a tour
- In your environment folder, create a folder named
<Name of your tour>.panorama(e.g.My Tour.panorama). - Drag and drop all files which are composing your tour in this folder. These files must include a file named
_tour.xml. This file includes all the descriptions of the various scenes and hotspots which are composing your tour. The graphical resources coming with your tour should also be pasted in yourpanoramafolder. Their path should be the same as the one described by your krpano file. - (Optional) You can customize the look of your hotspots. Add an image (
.png) named_hotspot.pngto change the look of the hotspots. - (Optional) Add an image (
.jpgor.png) named_previewto change the preview.
Projection types
Two types of projection are supported.
Spherical projection
Place a single image with the spherical projection of the scene in the folder. The name of the file does not matter, just keep in mind that this file cannot be named _background or _preview.
Important : Do not place any other images in this folder (except one _preview file, if you want to change the preview).
Cube projection
Place 6 images, corresponding to the six faces of your cube in the folder. Keep in mind that none of the files should be named _background or _preview.
Note : The default preview displayed, if a
_previewfile is not placed in the folder, will be the front face of the cube.
Naming : your files should respect the following conventions:
- up : named “u” or matches “_u_”, “_u”, “u_”, “up” (e.g.
u.jpg,pano_u.jpg,up.jpg) - down : named “d” or matches “_d_”, “_d”, “d_”, “down” (e.g.
d.jpg,pano_d.jpg,down.jpg) - front : named “f” or matches “_f_”, “_f”, “f_”, “front” (e.g.
f.jpg,pano_f.jpg,front.jpg) - back : named “b” or matches “_b_”, “_b”, “b_”, “back” (e.g.
b.jpg,pano_b.jpg,back.jpg) - left : named “l” or matches “_l_”, “_l”, “l_”, “left” (e.g.
l.jpg,pano_left.jpg,left.jpg) - right : named “r” or matches “_r_”, “_r”, “r_”, “right” (e.g.
r.jpg,pano_r.jpg,right.jpg)
Important : Do not place any other images in this folder (except one _preview file, or _hotspot file if you are creating a tour).
Video projection
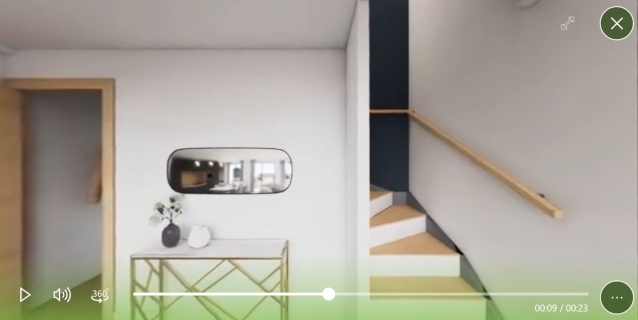
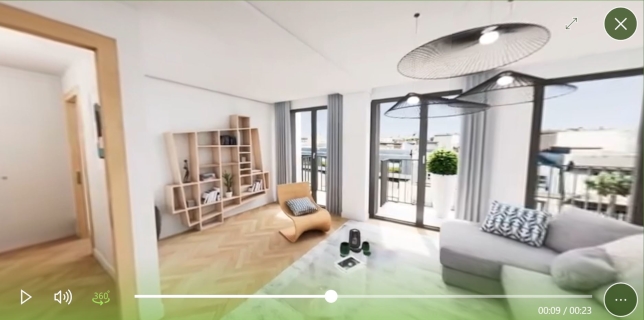
It is possible to navigate in a video if this video is a 360° video. Put your video file inside your panorama folder. The name of the file is not important as long as the file has a video format supported by Compositeur Digital UX.
In the video player, to move the camera, hit the 360° button in the media control bar.
To stop the navigation, click on the 360° button again.
Download a sample
A Demo Universe which contains samples for panorama contents is available, give it a try! 😄

